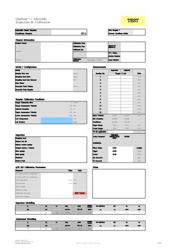
Using the calibration certificate spreadsheet
Overview of the certificate template
Supplied with the Qualisair qCR Kit is a certificate template that you can use to perform calibrations and issue to your customers. Each certificate is unique to the kit and the customer.
When we supply a new qCR kit to a customer, the template will be pre-configured with the qCR kit calibration factors and if requested a company logo.
Below are certificate templates to suit your spreadsheet application.
Note: These are blank and do not contain configuration factors or qCR kit details.
| File | Modified | |
|---|---|---|
|
Labels |
Microsoft Excel Spreadsheet Sampler Calibration Certificate Template qCR.xlsx |
27 Aug 2025 by Stephen Plumridge |
| 27 Aug 2025 by Stephen Plumridge |
The images within this course module are from the Apple Numbers version, though functionality and appearance is similar.
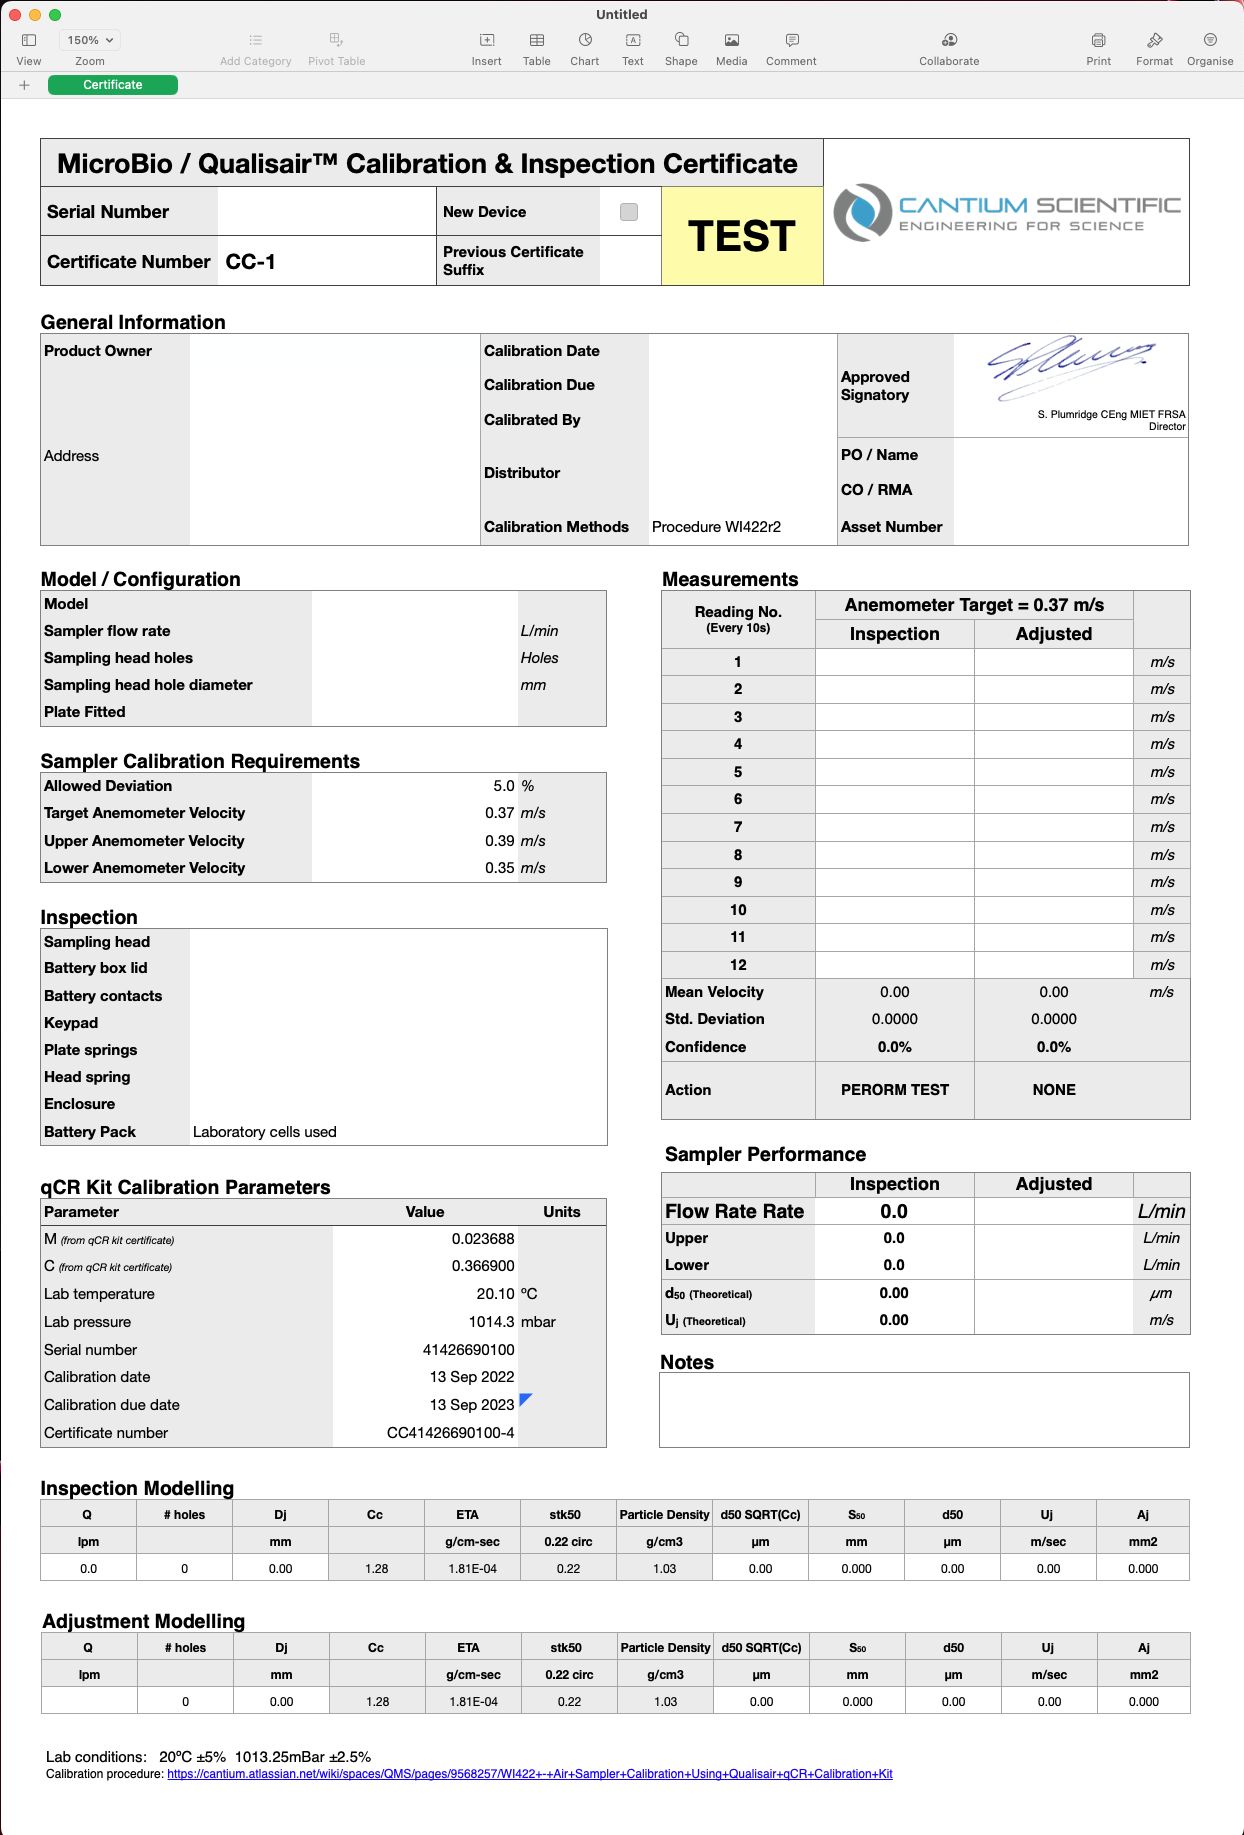
At the top of the certificate is a coloured box that will highlight yellow when a test needs to be done or is in progress. This will turn green with the word PASS the sampler passes calibration or red with the word FAIL if it failed calibration.
Filling in the details on the certificate
Certificate number
This feature follows the certificate numbering format used by Cantium Scientific Limited. Other companies using the qCR kit and procedure may adopt their own methods and modify the template accordingly.

First, enter the serial number of the sampler. For the past few years, all MicroBio samplers have a QR code on the serial number label. If you have a barcode scanner connected to you PC, this may be able to scan the code.
If there is a calibration label on the sampler, then there will be a suffix number, e.g. -1, after the certificate number. All factory fresh samplers will have a -1, so the next calibration should have a -2, etc. Enter the suffix on the label in the box 'Previous Certificate Suffix'.
The certificate number is automatically generated.
Now save the file using the certificate number as the filename.
General Information

Most items in this part of the certificate are self explanatory.
Calibration Due date is automatically calculated one year from the calibration date.
PO/Name relate to either a purchase order number or customer contact name.
CO/RMA is used by Cantium Scientific Limited and are generated by our MRP system. This could be changed to represent your company works order number.
Asset Number is the customer’s asset number for the sampler, if available.
Authorised Signatory is normally the supervisor overseeing the calibration work. This cell can contain the signature, name and position/rank of that person.
Distributor cell is used by Cantium Scientific Limited to indicate who sold the item. Others may disregard this.
Calibration Methods indicates the title of the procedure used for calibrating and as shown above is the Cantium Scientific Limited Document. If a third party uses this, they may adopt their own procedure number, as long as that procedure incorporates the technical detail of WI422 - Air Sampler Calibration Using Qualisair qCR Calibration Kit.
Model Configuration
The parameters are all selected from drop-down lists. Accuracy in selecting the flow rate, holes and hole diameter is critical.

The flow rate will be 100, 180 or 200 lpm. Head holes will relate to the sampling head being used, either 220 or 400. The hole diameter is the diameter of the jet inlets on the head, such as 1.0mm for the 220 hole head and 0.7mm for the 400 hole aluminium head.
The plate fitted will relate to 90mm Petri dish or 55mm contact plates that the sampler is configured to use.
Inspection
Before performing a flow calibration, a visual inspection of the sampler should be carried out. The inspection record has a series of drop-down lists against each item.
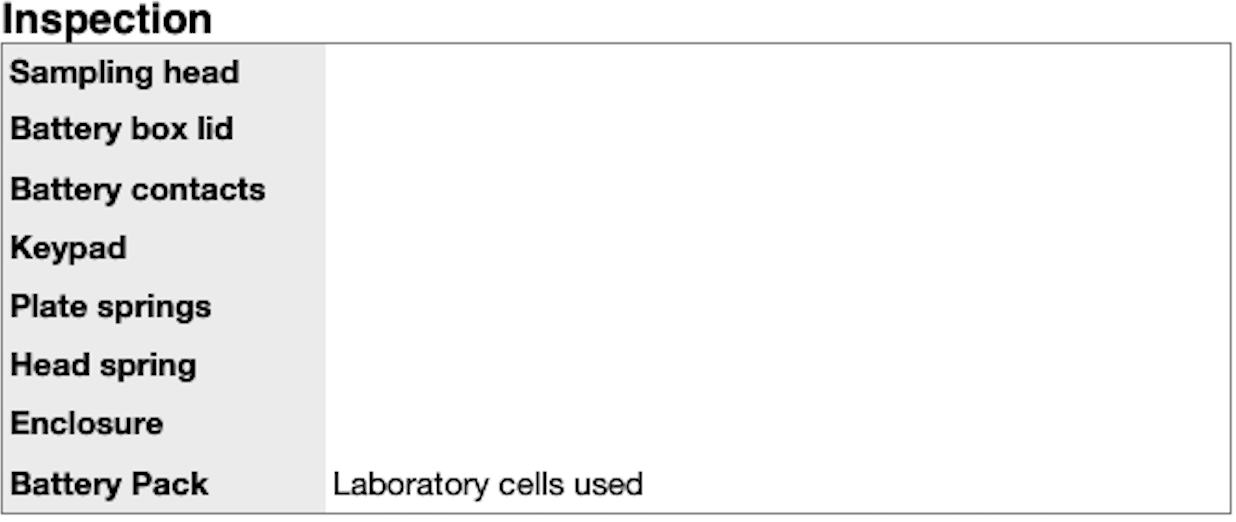
All new samplers will have ‘New Item’ selected from the drop-down lists, except the battery pack as Cantium Scientific Limited uses a set of cells assigned to the test benches.
Sampler Calibration Requirements
This box contains computations for the required air flow velocity for the sampler model and volumetric flow rate, based on the calibration factors for the qCR kit. Nothing here needs to be changed.
If your customer requires calibration with a tighter tolerance on the flow rate, then the 'Allowed Deviation' can be changed. ±5% is the standard allowed in ISO 14698 and similar standards.

qCR Kit Calibration Parameters
All the figures in this box relate to the information on the calibration certificate for the Qualisair qCR kit. The important parameters are M and C and these are used to compute the anemometer velocity required on the qCR anemometer for the required volumetric flow rate.
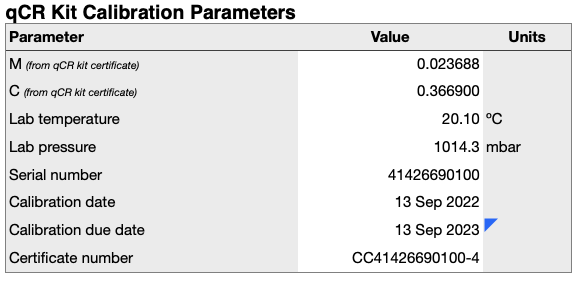
These parameters are normally fixed in the template file and updated only when the qCR kit receives its annual calibration and service.
Inspection and Adjustment Modelling
These boxes are not to be used by the technician and serve to compute inlet jet velocities and d50 cut-off points for the sampler for the measured flow rate.

Measurements
This is the set of cells where the anemometer flow measurements will be recorded for initial inspection and post-adjustment if required, in accordance with WI422 - Air Sampler Calibration Using Qualisair qCR Calibration Kit
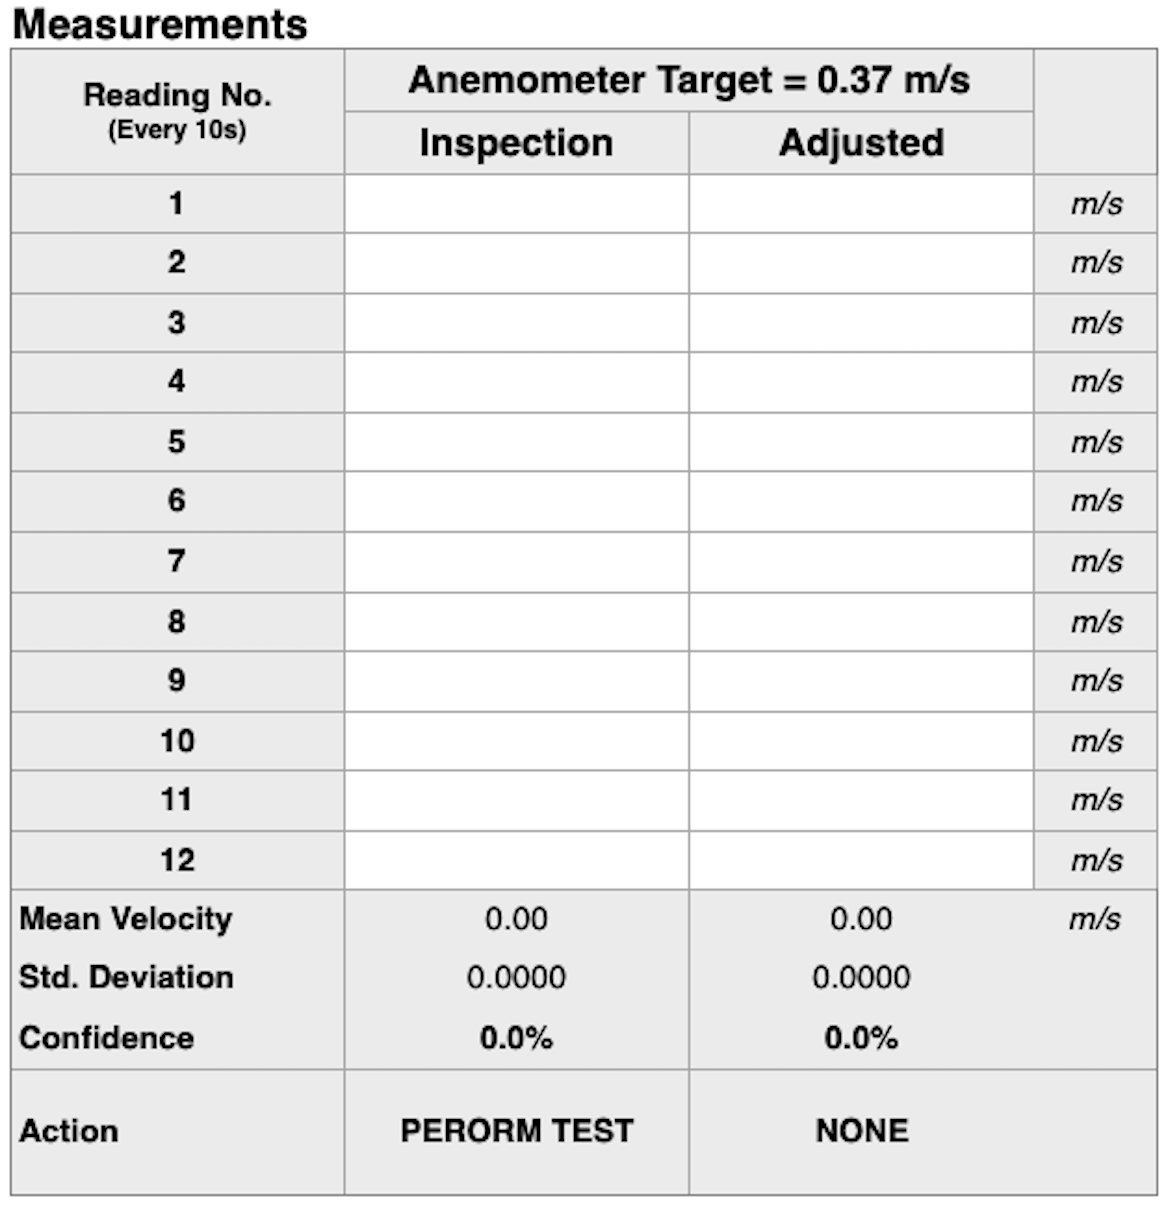
Depending on the sampler model configuration, the Anemometer Target velocity will be computed.
When first inspecting a sampler, twelve flow measurements are taken, at 10 second intervals and recorded in the Inspection column. The Action row will indicate if the sampler has passed or if adjustment is required. Statistical information is also given on the readings.
If adjustment is made, a further twelve measures should be taken, at 10 second intervals and recorded in the Adjusted column, with PASS or FAIL being indicated.
Notes
Last of all on the certificate is a Notes box. This allows recording of any important information pertaining to the calibration and condition of the sampler that cannot be recorded elsewhere on the certificate.

