Create a new study or scenario
Creating New Studies and Scenarios
Users can set up a new study either directly from the Select Study/Scenario menu or from within the SMART Editor.
When a new scenario is created, the default specification is loaded in the SMART Editor. The default specification is a simple example specification which is intended to be modified or replaced entirely with one of the Community Page study templates.
Using the Select Study/Scenario menu
To create a new study or scenario from the Select Study/Scenario menu, users can click the New Study or New Scenario button in the top left of either the study or scenario menu.
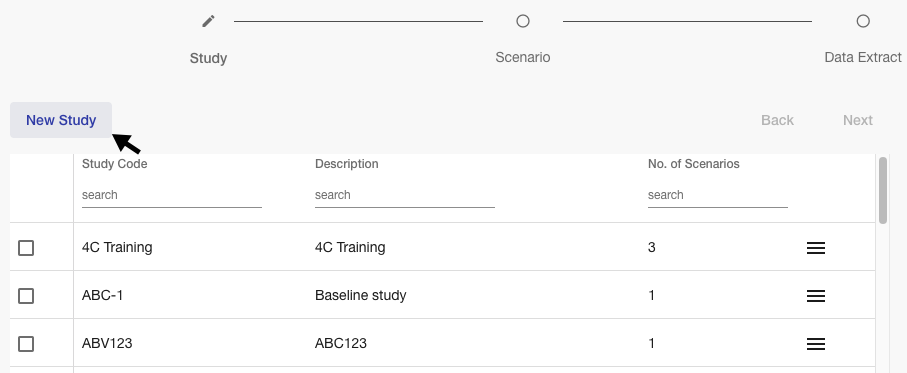
When creating a new study, a dialogue will launch the user can enter a name and description of the study. These are both text fields that accept numbers, letters, and characters.
When creating a new scenario, a dialogue will launch where the user enters a scenario number and description. All scenarios must be given a number, the description accepts numbers, letters, and characters.
Using the SMART Editor
To create a new scenario for an existing or new study from the SMART Editor, click the black folder with the + icon in the Smart Editor menu bar. A dialogue opens in which the user can create a new scenario for a new study or an existing study.
Copying a Scenario
The Save As icon on the top SMART Editor toolbar allows users to save the open scenario as a new scenario either within the same study or to a new study.
Once a new study or scenario is created, the user can copy specifications from a template and paste these into the Smart Editor via the source code context. The source code icon <>
is located at the right end of the lower toolbar. This function can also be used to save scenarios locally as text or HTML files.
Some templates have been provided by 4G Clinical and are available on the 4C Community page. Users can also create a library of templates for use within their company.
Saving a Scenario
Users should save their work regularly to avoid loss of data. Scenarios are saved using the floppy disk icon in the Smart Editor menu bar. They are also saved automatically before Master Data is loaded and before an interpretation is run.